
Green screen technology has revolutionized video production, making it accessible to creators at every level. From Hollywood blockbusters to YouTube tutorials, chroma key compositing allows you to transport subjects anywhere imaginable while maintaining professional quality.
Whether you're creating educational content, marketing videos, or entertainment, mastering green screen techniques opens infinite creative possibilities. This comprehensive guide will teach you everything from basic setup to advanced techniques that professionals use.
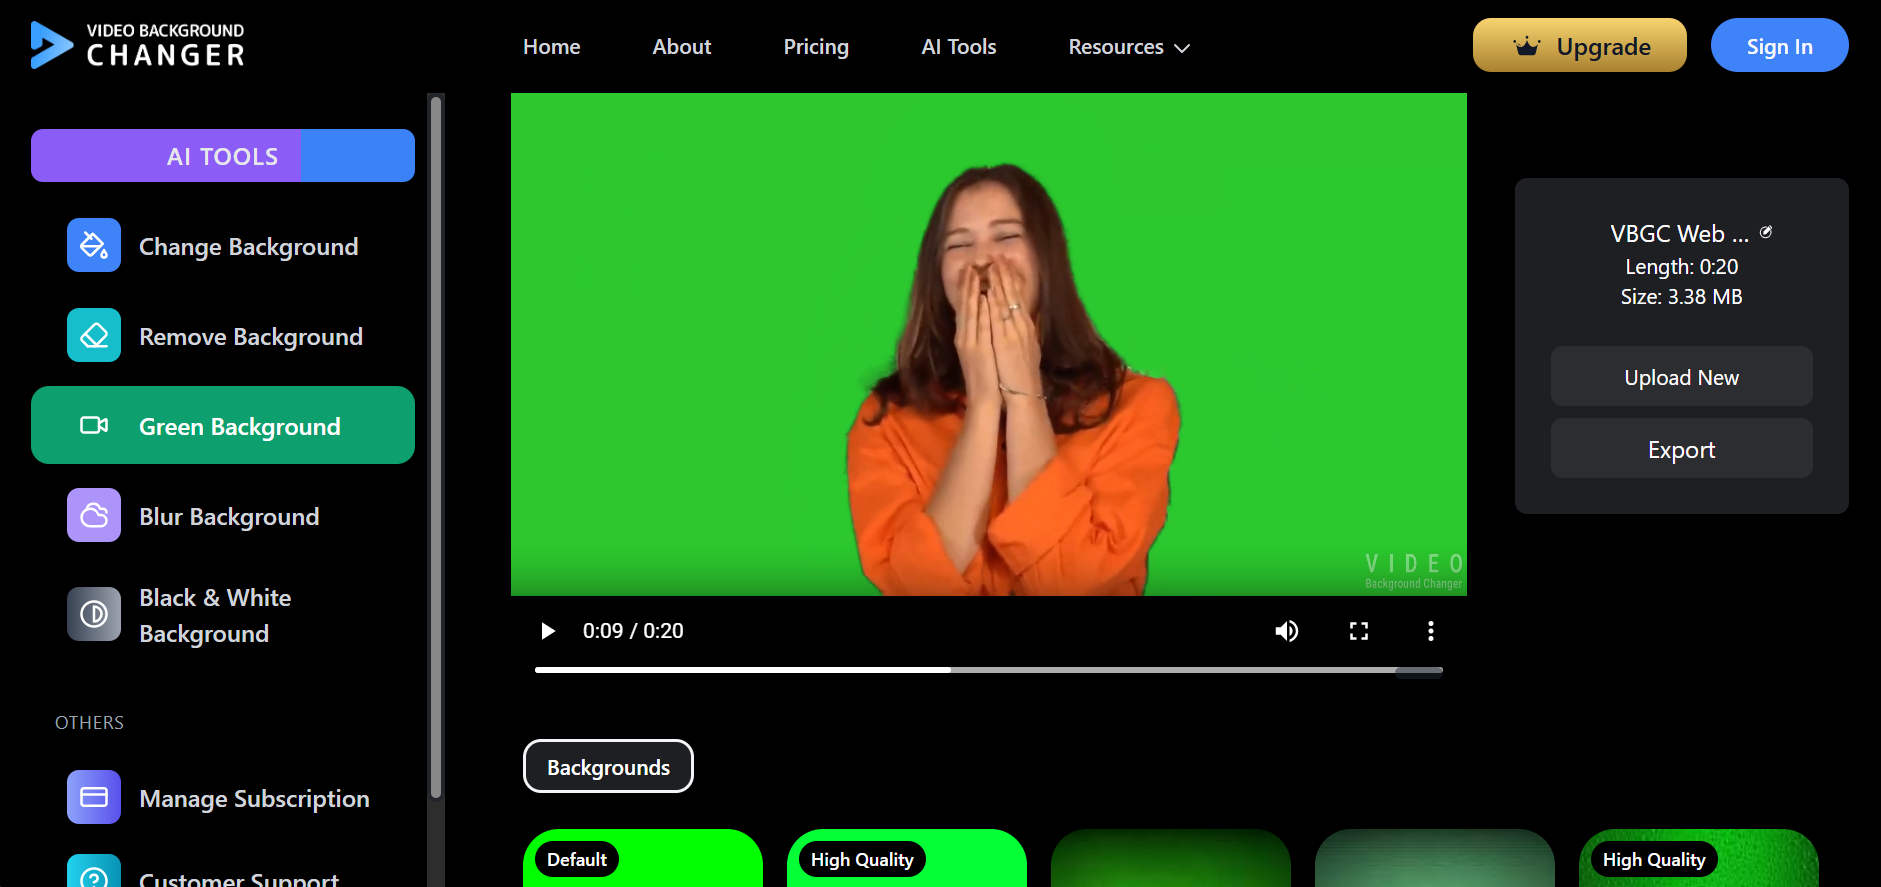
If you want a faster workflow for swapping scenes, try our green screen background tool to key and replace backgrounds online.
Understanding Chroma Key Technology
Chroma key, commonly known as green screen, works by isolating a specific color range (typically bright green) and replacing it with different footage or images. The technology relies on color difference algorithms that can distinguish between the green backdrop and your subject. Green became the standard choice because it's the color least likely to appear in human skin tones and common clothing. The specific shade used professionally is "chroma key green" (RGB: 0, 177, 64), which provides optimal separation from most subjects. Modern chroma key software uses advanced algorithms that can handle partial transparency, edge feathering, and color spill correction. This means even challenging elements like hair, glass, or translucent materials can be keyed successfully with proper technique.
Essential Green Screen Equipment
Your green screen setup determines the quality of your final output. Start with a high-quality backdrop made from muslin, vinyl, or paper. Muslin provides the best results as it's non-reflective and maintains consistent color under various lighting conditions. Lighting is crucial for professional results. You'll need at least three light sources: two for evenly illuminating the green screen and one for your subject. LED panels work best as they provide consistent color temperature and don't generate excessive heat. Camera settings matter significantly. Shoot at the highest resolution possible, use manual focus to prevent hunting, and maintain a shutter speed at least twice your frame rate. Lower ISO settings reduce noise, which can interfere with the keying process.
Professional Lighting Techniques
Even lighting across your green screen is non-negotiable for clean keying. Use a light meter to ensure consistent illumination, aiming for no more than one f-stop difference across the entire backdrop. Create separation between your subject and the background using backlighting or rim lighting. This prevents green spill (green light reflecting onto your subject) and creates natural-looking edges that integrate seamlessly with replacement backgrounds. Color temperature consistency is vital. All lights should match (typically 5600K for daylight or 3200K for tungsten). Mixed lighting creates color casts that complicate the keying process and may require extensive color correction.
Advanced Keying Techniques
Modern keying software offers sophisticated tools beyond basic color selection. Edge matte controls help refine the boundary between subject and background, while core matte adjustments handle the interior areas of your key.
Spill suppression removes unwanted green color casts from your subject. This is particularly important for reflective surfaces, blonde hair, or light-colored clothing that picks up green bounce light from the backdrop.
Garbage masks can dramatically improve your key by excluding problematic areas like visible backdrop edges or equipment. Pre-composing with rough masks before applying your key often yields better results than relying solely on color-based selection.
If you’re comparing software options, this walkthrough shows how to remove green screen from video in CapCut, Premiere, DaVinci, or using an online AI approach.
Troubleshooting Common Problems
Uneven lighting creates the most keying problems. If you see dark areas in your key, add fill lighting to those sections. Hot spots from over-lighting require diffusion or repositioning your lights further from the backdrop. Edge fringing typically results from compression artifacts or camera sharpening. Shoot in the highest quality format available and disable in-camera sharpening. In post, use edge matte controls to create cleaner transitions. Motion blur can break even perfect keys. Increase your shutter speed to minimize blur, or use specialized motion blur-aware keying algorithms available in professional software like After Effects or DaVinci Resolve.
Creative Applications Beyond Basic Replacement
Virtual sets extend beyond simple background replacement. Create depth by placing virtual elements both behind and in front of your subject. This technique, called "layered compositing," makes your scene more believable. Weather effects, particle systems, and atmospheric elements can transform simple green screen footage into cinematic sequences. Combine multiple layers of fog, rain, or snow with appropriate lighting adjustments to match your virtual environment. Interactive lighting techniques involve adjusting your subject's lighting to match the virtual background. If your background shows sunlight from the right, add corresponding lighting to your subject for realistic integration.
Post-Production Workflow Optimization
Organize your footage systematically. Keep background plates, foreground elements, and reference shots in clearly labeled folders. This organization becomes crucial when working on complex projects with multiple scenes. Color grading should match your subject to the new background. Adjust shadows, midtones, and highlights to create consistent exposure. Use reference scopes to ensure your subject's brightness levels are appropriate for the new environment. Final compositing involves adding subtle details that sell the effect: shadows, reflections, and atmospheric perspective. These elements, while small, make the difference between amateur and professional-looking results.
Budget-Friendly Alternatives and Solutions
Paper backgrounds offer an economical alternative to fabric screens. While they require more careful handling to avoid wrinkles, they provide excellent color consistency and can be easily replaced when damaged.
Natural lighting can supplement artificial sources. Position your green screen near a large window for soft, even illumination, then use LED panels to fill shadows and maintain consistent exposure as daylight changes.
DIY lighting solutions include work lights with daylight-balanced bulbs diffused through white shower curtains or photography umbrellas. While less precise than professional equipment, these alternatives can produce surprisingly good results for budget-conscious creators.
Didn’t film on green? You can still change a video background without a green screen by removing the background automatically and adding a new scene.
Conclusion
Mastering green screen technology requires understanding both the technical and creative aspects of chroma key compositing. From proper lighting setup to advanced post-production techniques, each element contributes to professional-quality results. The key to success lies in consistent practice and attention to detail. Start with simple projects to build your skills, then gradually incorporate more complex techniques as your confidence grows. Remember that even small improvements in your setup can yield significant improvements in your final output. With dedication and the right approach, green screen technology can elevate your video content from amateur to professional. Whether creating educational content, marketing materials, or entertainment, these techniques will serve you well in your creative journey.